


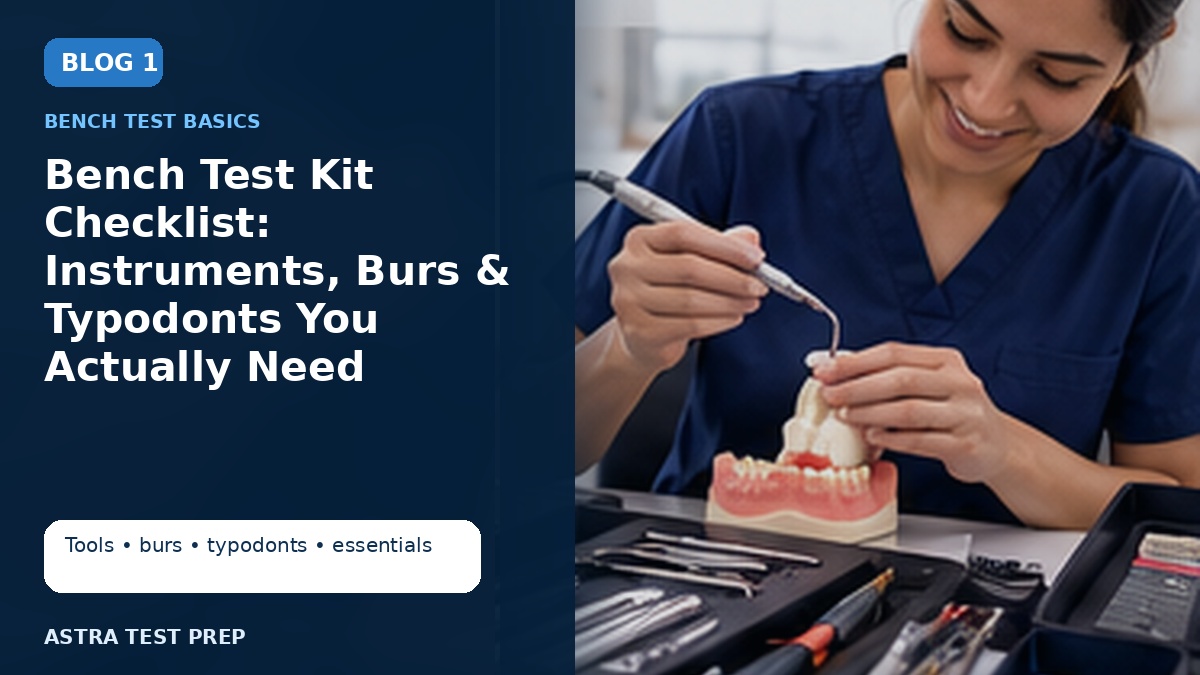
Most internationally trained dentists preparing for an Advanced Standing bench examination ask the same early question: what do I actually need to buy? It is a fair question. Instruments, burs, and typodonts are expensive, and buying the wrong items can waste money and practice time.
A well-planned bench test kit will not make you exam-ready on its own. Skill comes from repetition, feedback, and time management. But the right kit removes friction. When your instruments are familiar, organized, and similar to what you will use on exam day, you can focus on the preparation itself instead of on your tools.
This checklist covers the categories most candidates should think about. It is not a list for any single school. Instrument requirements vary by examination, so treat this as a planning guide and confirm the details with each program before you buy.
First: What to Confirm With the School Before You Buy
Before ordering anything, read every document the program sends you after your invitation. Many schools publish or email a specific instrument list, and some provide part of the equipment in their simulation lab. Look for answers to these questions:
- Which typodont and teeth are used? The manufacturer, model, and specific tooth numbers matter.
- Are handpieces provided? Some programs supply high-speed and low-speed handpieces in the lab. Others ask candidates to bring their own, sometimes with a specific connection type.
- Which procedures are tested? Crown preparations, Class II preparations, restorations, and other procedures each need different burs and instruments.
- Are restorative materials supplied? Composite, amalgam, and matrix systems are often provided by the school, but do not assume this.
- Are loupes or headlamps allowed? Policies on magnification and lighting differ.
- What cannot be brought in? Some exams restrict pre-made reduction guides, notes, or electronic devices.
If something is unclear, ask the admissions office in writing. A short, polite email is much better than a surprise on exam day.
Core Hand Instruments
Hand instruments are the foundation of your bench test kit. You will use them in nearly every procedure, so choose instruments that feel comfortable and that you can use with control.
- Mouth mirror (front-surface): Indirect vision is important on many bench exams, especially for maxillary and distal surfaces. A clear front-surface mirror helps.
- Explorer: For checking margins, detecting roughness, and evaluating finish lines.
- Periodontal probe: Useful for measuring depth, width, and reduction. A probe with clear millimeter markings is a simple, reliable measuring tool.
- Spoon excavator: For removing debris and checking internal form.
- Enamel hatchets, hoes, or chisels: For planing walls and refining cavity preparations.
- Gingival margin trimmers: Helpful for refining proximal box margins in Class II preparations.
- Composite and amalgam placement instruments: Condensers, carvers, burnishers, and a plastic filling instrument, if restorations are part of your exam.
You do not need every instrument from a dental catalog. Many candidates do better with a smaller, familiar set than with a large collection they rarely use.
Burs: Build a Focused Set
Burs are where candidates most often overspend. A focused set that matches your tested procedures is usually more useful than a large assortment.
Burs commonly used for operative preparations
- Pear-shaped carbide burs (for example, a #330 or #245): Often used for Class I and Class II amalgam-style preparations.
- Small round burs: For initial entry or specific internal features.
- Fine finishing burs: For smoothing walls and margins where appropriate.
Burs commonly used for crown preparations
- Tapered round-end diamond: Commonly used for chamfer finish lines.
- Tapered flat-end diamond: Commonly used for shoulder finish lines in all-ceramic or metal-ceramic preparations.
- Football or wheel-shaped diamond: For occlusal and lingual reduction on anterior teeth.
- Fine-grit finishing diamonds: For refining axial walls and margins.
Exact shapes and sizes depend on the preparation design you are expected to produce and on your own technique. Replace burs once they lose their cutting efficiency. Dull burs cause heat, rough surfaces, and loss of control, even on plastic teeth.
Typodonts and Replacement Teeth
The typodont is the most important item to match correctly. Common manufacturers include Kilgore and Columbia Dentoform, and each offers several models. Tooth anatomy, contact tightness, and material hardness can feel different between brands and models.
For your practice, plan for:
- The same typodont model your exam uses, if possible. Practicing on a different model can change how margins and contacts feel.
- Enough replacement teeth. Most progress happens through repetition, so many candidates prepare dozens of teeth over their preparation period. Order the specific teeth you will be tested on.
- A mounting setup that resembles exam conditions. Practicing on a typodont mounted in a manikin head or a bench mount builds positioning habits you will use on exam day.
Measuring and Reduction Aids
Accurate reduction is hard to judge by eye alone, especially early in your preparation. Measuring aids help you build a reliable sense of depth and taper.
- Periodontal probe: Simple and quick for depth and width checks.
- Putty or silicone index: Made on an unprepared tooth, then sectioned to check reduction during practice.
- Thickness gauge or caliper: For measuring remaining tooth structure or wall thickness in practice.
- Articulating paper: For checking occlusal clearance where relevant.
Remember that some exams do not allow indexes or measuring guides in the exam room. Use them as training tools so your eye becomes accurate without them.
Organization Supplies
Small organizational choices save real time on test day.
- Bur block or labeled bur holder: So you can find the right bur without searching.
- Instrument tray or cassette: Arranged in the order you use instruments.
- Matrix bands, retainers, and wedges: If Class II restorations are tested.
- Cotton rolls, gauze, and a small brush: For keeping the typodont clean so you can see margins.
- Spare items: An extra mirror head, extra burs, and extra wedges.
Practice with your kit arranged exactly as you plan to set it up on exam day. Familiar setup reduces stress and helps you stay inside time limits.
Common Kit Mistakes to Avoid
- Buying a complete “starter kit” before confirming the exam’s actual requirements
- Practicing on a different typodont model than the one used in the exam
- Using worn burs during practice and then switching to new burs on exam day
- Relying so heavily on reduction guides that you cannot judge depth without them
- Bringing items the exam does not allow
Key Takeaways
- A bench test kit supports preparation, but it does not replace practice.
- Confirm the typodont model, handpiece policy, and procedure list with each school before buying.
- Keep your bur set focused on the procedures you will actually perform.
- Use measuring aids to train your eye, not as a long-term crutch.
- Organize and practice with the same setup you plan to use on exam day.
For more on what to do with your kit once you have it, read our guide to what to practice for the Advanced Standing bench test. You can also review the ASTRA Bench Examination Guide for an overview of how bench exams work, and our bench skills preparation resource for building consistency and control.
Practicing With Your Kit
If you’re preparing for an Advanced Standing bench examination and want to learn more about simulation-based practice and exam-style preparation, you can explore ASTRA Test Prep’s resources and preparation options in Pasadena.